I’ve been planning to turn one of the large walls in our basement into a dry erase whiteboard for a long time. I even purchased a set of dry erase paint, black chalkboard paint and magnetic primer but as always things got in the way. When I started to get ready and finally paint the wall, I read that dry erase paints had an expiration date and they would not work if they were used beyond its recommended shelf life. Apparently, it’s been more than 2 years since I’ve purchased the paints – talk about procrastination. I’ve also read mixed reviews about the magnetic primer. I’ve discussed my plan with the kids and we’ve agreed that we would only use a plain dry erase whiteboard and did not need a magnetic primer or a partial chalkboard.

I went ahead and purchased a new dry erase paint from Rust-Oleum. There are two types of dry erase paint by Rust-Oleum: Rust-Oleum: Rust-Oleum Kit, White and Rust-Oleum Specialty Dry Erase Kit, Clear. I decided to get the clear one.

The box has instructions on it. However, reading amazon.com reviews helped me plan better. First, in order to determine the shelf life of the kit, you look at the code printed on the right bottom corner of the instructions side on the box. You look at the 4 digits in the middle of the code. It’s said to show the manufacturing date as Y/M/DD. The important part is to make sure the date is less than 2 years old. Mine said 5/4/18. (I painted the wall in January 2017)
The kit has two cans inside. One of them is the paint, the other one is the activator. Once mixed, you have to use it within 2 hours.
Painting Tools Used in this Project

We started with preparing the area, marking the edges with painters tape, and putting up sheets on the floor. The ambiance is really important when working on DIY projects. So we turned on our rotating disco party bulb while my husband was practicing drums.

First, I covered the holes and uneven surface with drywall putty. I waited for it to dry.

Then, I sanded the portion of the wall I am going to paint to make the surface flat and smooth. I cleaned the dust and remnants after the sanding.

Then we painted the wall with a flat white primer. The original color of the wall was a light shade of cream color. I couldn’t find any leftover paint at home and I didn’t want to pay extra for a whole gallon of paint for such a small space so I decided to leave the white of the primer paint underneath the clear dry erase paint. Kids helped me with the painting. We used a nap roller we had at home to paint the primer.

Once the primer dried, we were ready to put on the dry erase paint. We mixed part A into part B. We stirred it thoroughly and started to apply on the wall with a foam roller as recommended.

After the first coat, we waited 30 minutes. We made sure it was dry to the touch and then applied a second coat. Eventually, we decided to apply 3 coats as recommended by the users who left reviews on amazon.com. The instructions on the box says with 2 coats you can cover 7’x7′ area. The wall we painted was 9’x6″ so we used 2 kits to completely and thoroughly cover this area with 4 coats.

The instructions say to let it cure for a minimum of two days and more for cooler temperatures. Once finished with the 4th coat, we let it cure for 3+ days since our basement is cooler than the upper floors of the house.

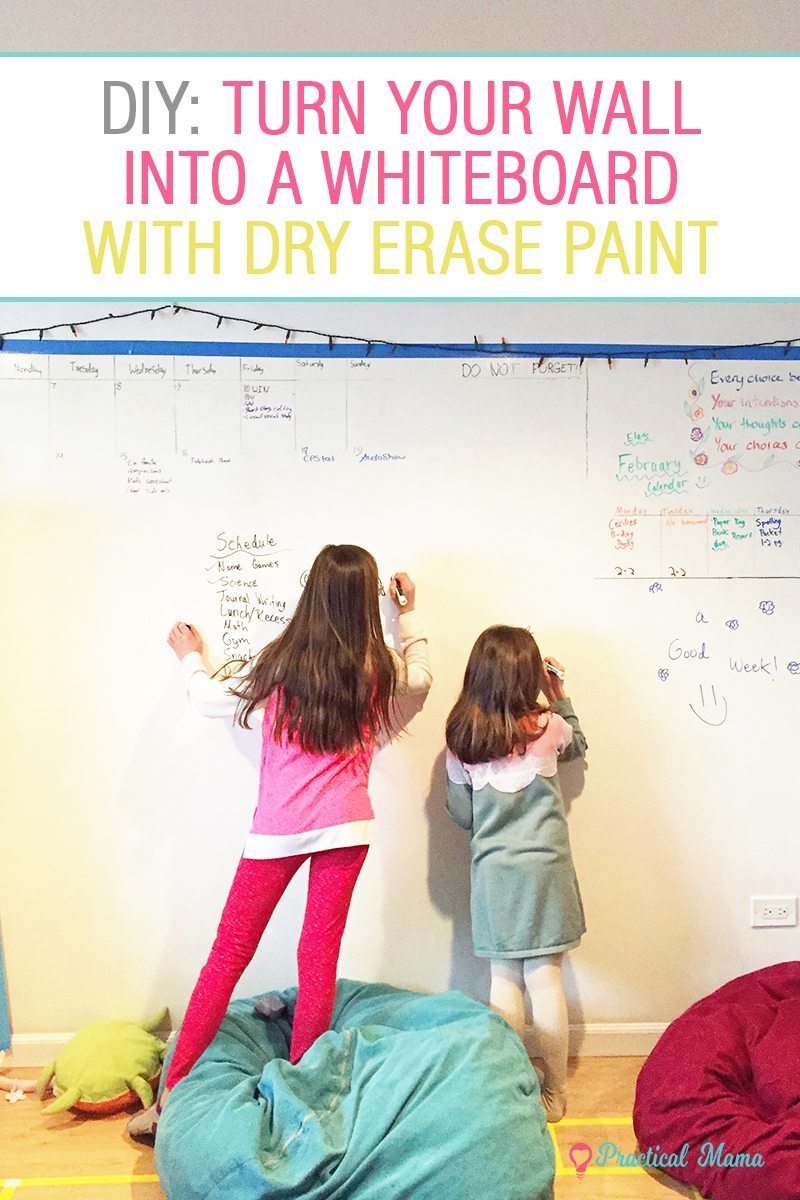
Now we use it on a daily basis for planning and tracking the homework. We draw, play games. I put inspirational quotes. The dry erase markers work and erase just easily. I’m really glad I’ve finally finished this project and after 3 months we’re really happy about the results.


This is a fantastic idea! Good job practical mama. Will do it, too
I love your wall. Does it erase easily?
Yes, I try not to leave the markers on the wall for too long and use dry erase spray once in a while.
Would you mind updating us on how it held up over time? Thanks!
Thank you for your comment. Wow! I cannot believe it’s been more than 5 years since this project. The dry erase wall is still up and in use. We must be very diligent about erasing things quickly if not right away, otherwise, erasing them completely gets harder. We use dry-erase spray solution. We used it to track to do list for schoolwork. Nowadays, kids use it to brainstorm while they are writing songs. I use it to brainstorm for work. In my opinion, it’s been a good investment of money, time, and effort,